Overview
HIBster has a mobile app, available from Google Play or Apple's App Store.
The HIBster app allows anyone to submit a potential HIB to their school district. This can be used internally, for teachers and staff to submit known incidents. Or it can be given to parents and other members of the community so that they are able to submit incidents to the school.
Incidents can be submitted either anonymously or by individuals that would like to identify themselves.
Getting started
After launching the app, the home screen will display the definition of a HIB.
This ensures users have an idea what constitutes a HIB before proceeding.

After reading the HIB definition, click the Continue button.
Determine the School District
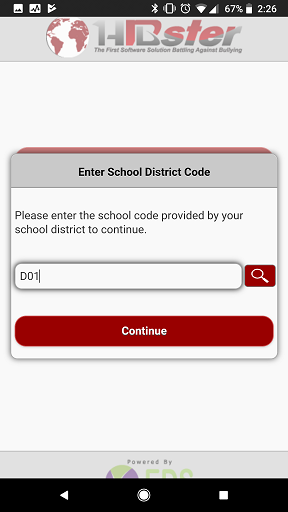
To ensure the incident is being sent to the proper school, the School District Code must be entered.
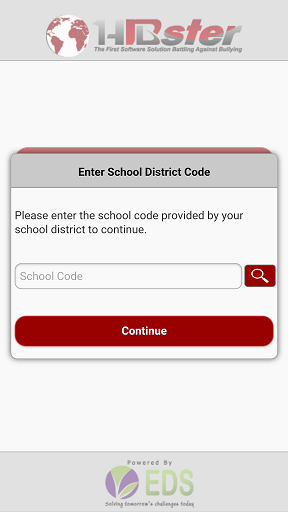
If the School District Code is known, enter it in the School Code text area and then tap the Continue button.
If the School District Code is not known, search for the school district by tapping the magnifying glass icon to the right of the School Code text area. This will bring up the Search Districts/Schools feature.
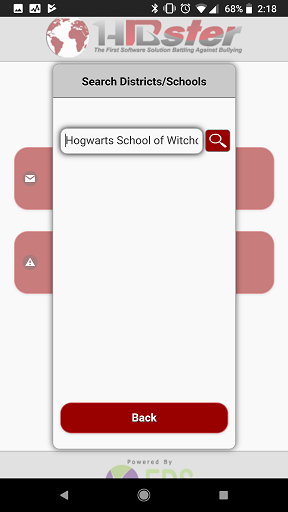
Enter the name of the school district exactly as it appears in HIBster. For example, if a search for "School A" returns no results, try a search for "School A Public Schools" or "School A School District" instead.
After entering the school name, tap the magnifying glass icon to search for it.
When the search finds a school, it will display it in a red box below the search area.
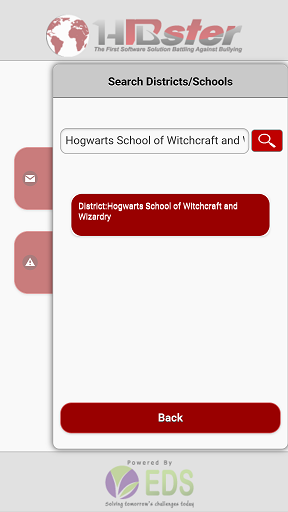
Tap the red box to select the school.
This returns the user to the Enter School District Code area.
Now, however, the School District Code has been populated automatically.
To proceed, tap the Continue button.
Note: Once the School District Code is known, it can be distributed to all users in advance.This way, users will not need to manually search for their school district.
Enter HIB Information
After selecting a school district, the user is presented with a blank HIB form.
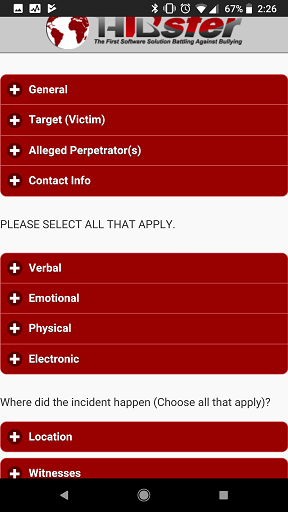
The form is divided into sections. To enter information for a given section, click the + button. This will expand that section.
To move on to the next section, either swipe up to scroll down or tap the - button next to the section to close it.
There are four mandatory fields (listed below), but users are encouraged to provide as much detail as possible.
General
The General section captures some basic information about the alleged incident.
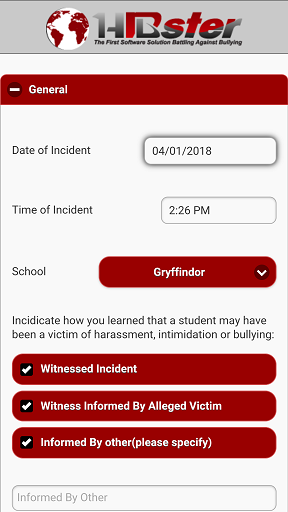
The first three options — Date of Incident, Time of Incident, and School — are mandatory. If a user tries to submit an incident without including those three options, they will be prompted to provide a response.
It is helpful to know how the person reporting the incident learned of it, but it is not required.
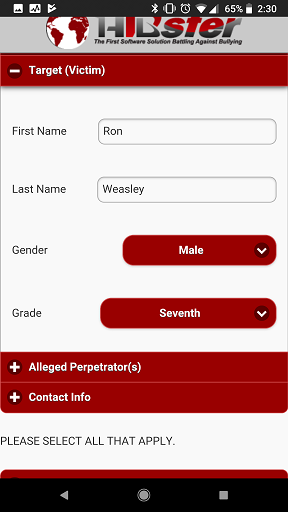
Target (Victim)
The Target section captures the victim in the alleged incident.
This section houses the fourth and final mandatory field: First Name. The submitter should hopefully provide more information than this, but at the very least, a first name is required.
Alleged Perpetrator(s)
If the perpetrator is known, it should be entered here.
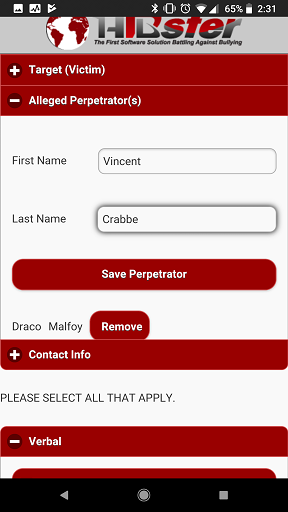
If there are multiple perpetrators, enter the first and last name of the first perpetrator and then tap the Save Perpetrator button. This will add the perpetrator to the form. Then enter the name of the second perpetrator and tap the Save Perpetrator button again.
Repeat the above step for every alleged perpetrator.
Contact Info
The Contact Info section houses information about the person reporting the incident.
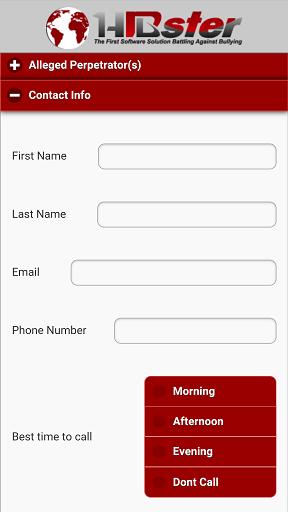
If the person reporting the incident chooses to be anonymous, the section should be left blank.
If a staff member is reporting an incident, all fields should be completed.
Classification
There are four types of classifications: verbal, emotional, physical and electronic.
Expand each classification to select more specific sub-categories.
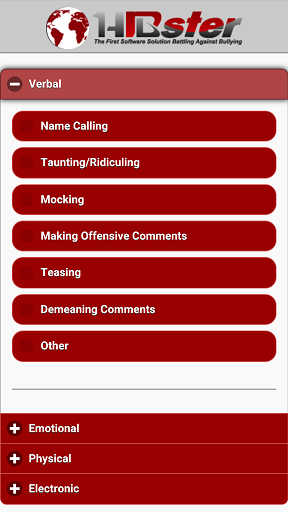
An incident may have multiple sub-classifications, including classifications from the different main classifications.
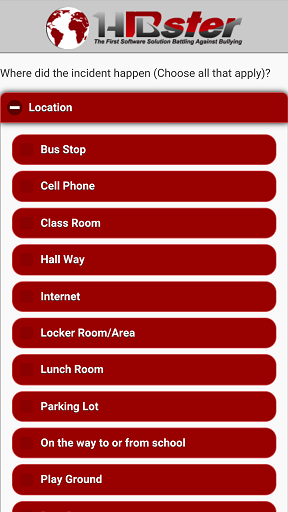
Location
The Location section allows the user to notate where the incident took place.
Witnesses
The Witnesses section houses anyone that may have witnessed the incident.
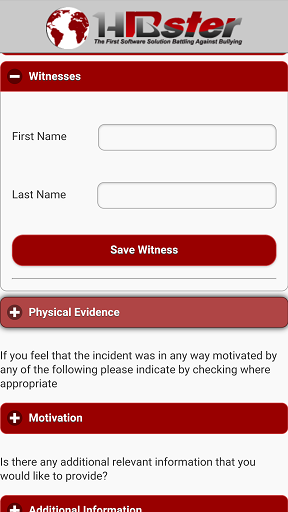
Enter the First Name and Last Name and then tap the Save Witness button.
To add additional witnesses, repeat the process.
Physical Evidence
The Physical Evidence allows the submitter to notate if they are in possession of any evidence.
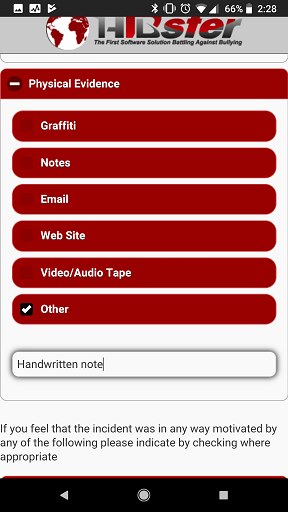
To upload a file, scroll to the bottom of the app and use the Choose Files button.
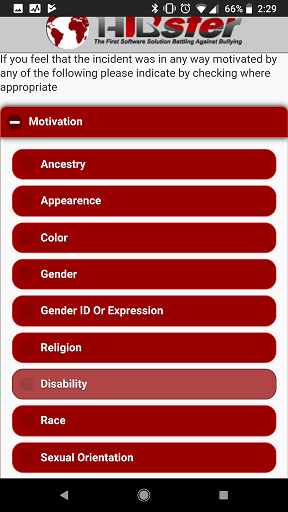
Motivation
The Motivation section allows the submitter to notate any type of motivation that may have contributed to the incident.
Additional Information
If there is any other information that the submitter would like to include, it should be added to the Additional Information section.
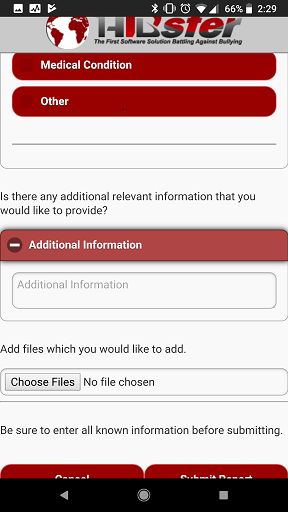
There is also an option up submit any type of file that would be helpful for the investigation.
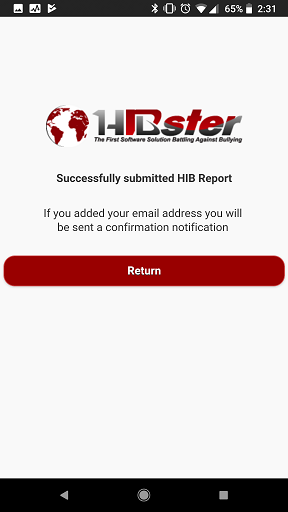
Submit the incident
Once all of the available information has been entered, click the Submit Request button at the bottom of the app.
The incident will be submitted to the selected school. The user will receive a confirmation message.