
The Witness and Evidence tab allows you to enter information about any students who witnessed the incident, as well as evidence to support any findings. To add a witness, press the  icon at the top of the tab while you are assigned to the incident.
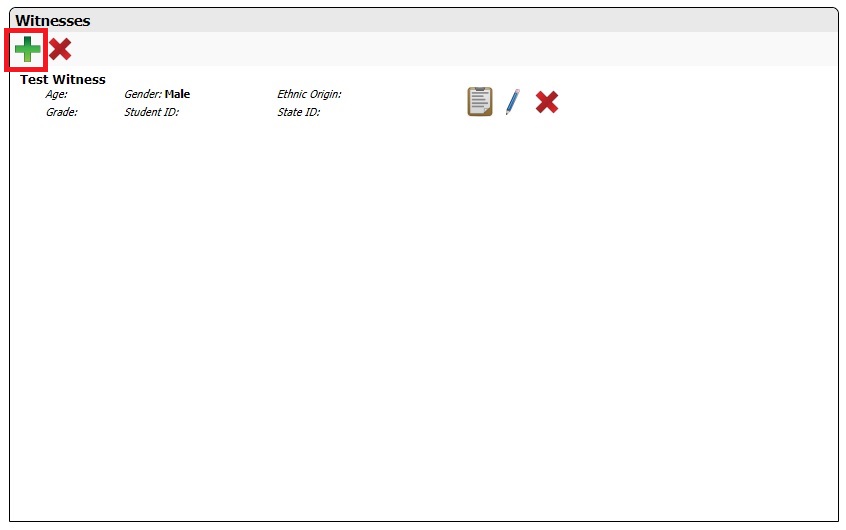
This will open a new pop-up window where you can enter the witness's information. This is very similar to the process used for adding Victims and Alleged Offenders on the General tab.
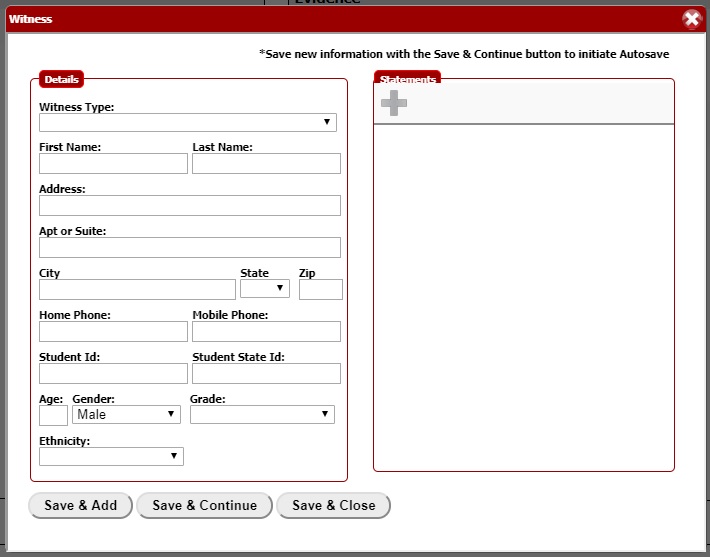
Once the witness has been saved into the system, the icon on the right side of the pop-up will become active. Now you can begin adding the witness's statements. Statements can include text documents, video, and audio.

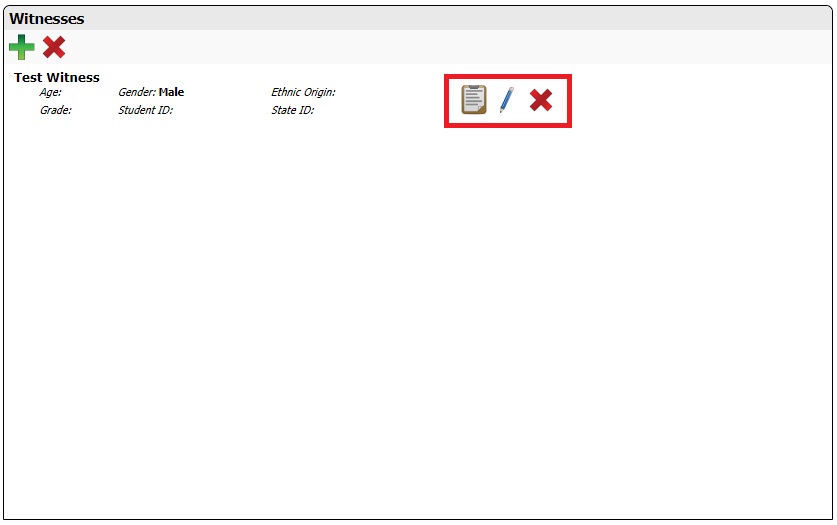
The witness will appear on the left half of the Witness & Evidence tab once they've been saved into the system. Their information can be edited at any time by clicking on the  link that appears beside their name. Clicking on the
  icon at the top of the tab will delete all witnesses from the incident. The icon that appears beside a witness's name will only delete that witness. If you are a higher level user such as a District Coordinator or Superintendent, you will also see the
  icon. Clicking on this will open the Student Overview for that student, where you can see every incident where they appear as a Victim, Perpetrator, or Witness.
To add evidence to an incident, click the "Yes" button on the right side of the tab. This will cause more options to appear.
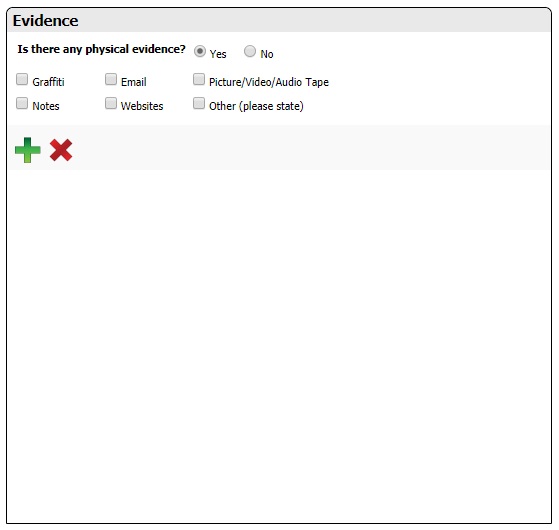
Press the icon under Evidence to open a new pop-up for uploading documents. This supports the same file types as the Statements area for each student. The Evidence area is intended for ALL documented evidence pertaining to the incident.